RSS

Tag Archives: effective discussion

Fostering Effective Discussions: Carousel Brainstorming

Fostering an effective discussion can be a challenging activity for a teacher in a face-to-face situation and can be even more challenging in an online setting. In this sixteenth post of a seventeen part series we will look at some planning and facilitation strategies to help you to successfully implement collaborative discussions into your own classes or staff workshops.

Strategy for Generating Ideas

This engages the group in movement and collaborative learning.

It infuses physical energy and is designed to link and extend knowledge and experience as small groups move from chart to chart generating information and building on previously constructed ideas.

Carousel Brainstorming

  • Small groups (3-4) with each having a different colored marker.
  • Chart paper up on walls with question/topic on each.
  • Each group starts at one chart then moves around the room to add more info to each chart at 4-5 mins for each station.
  • Once back at 1st chart, group reviews info and summarizes it for the whole class.
  • Edtech tools and Resources that can be used in the classroom, in a hybrid model, in a blended environment or completely virtual:
    • A Google Document can be used where each page would have a different question already posed and students adding their perspectives. One student could be the recorder of their group – everyone can be sharing out loud while the recorder adds the information in a colored text. Then the group moves to the next page, etc. This can be done in-class or during a GMeet in a breakout room.
    • Google Slides can be used in a similar fashion with breakout groups of students each working on the slide at the same time using Voice Comments and Text Comments. This can be done in-class or during a GMeet in a breakout room.
    • Jamboard – each frame could have the posed question and the recorder can enter the information onto the specific frame. Students move onto the next frame after the time limit has been reached. This can be done in-class or during a GMeet in a breakout room.
 

Tags:

Fostering Effective Discussions: Paraphrase Passport

Fostering an effective discussion can be a challenging activity for a teacher in a face-to-face situation and can be even more challenging in an online setting. In this fifteenth post of a seventeen part series we will look at some planning and facilitation strategies to help you to successfully implement collaborative discussions into your own classes or staff workshops.

Strategy for Dialogue and Discussion

This is a structured protocol for enhancing listening, increasing shared understanding and organizing dialogue. 

It increases shared understanding and balanced participation by slowing the pace of a collaborative conversation and inserting a paraphrase.

Paraphrase Passport

  • Teacher shares focus question/topic.
  • Small groups (3-4) organize their thoughts themselves.
  • Teacher models protocol emphasizing paraphrase insertion before adding an idea.
  • Small group numbers off, 1st makes a statement related to question/topic, then others offer opinion/perspective or ask a question with the paraphrase.

An Example:

Question: Come up with a definition for what is means to be an animal. Describe any essential characteristics.

  • Edtech tools and Resources that can be used in the classroom, in a hybrid model, in a blended environment or completely virtual:
    • Google Slide for question/topic. One statement per Slide with students being able to add comments, links and even visuals to the slide that offer their opinions/perspectives.
    • Jamboard – could be used similar to a Google Slide deck.
    • Padlet – an online bulletin board where participants can post their paraphrases and others can make comments on it.
 

Tags:

Fostering Effective Discussions: First Turn/Last Turn

Fostering an effective discussion can be a challenging activity for a teacher in a face-to-face situation and can be even more challenging in an online setting. In this fourteenth post of a seventeen part series we will look at some planning and facilitation strategies to help you to successfully implement collaborative discussions into your own classes or staff workshops.

Strategy for Dialogue and Discussion

First Turn/Last Turn is a highly structured protocol for organizing dialogue and collaborative inquiry. It develops an appreciation for the power of listening and the personal and shared learning potential when exploring diverse perspectives.

First Turn/Last Turn

  • Students are given time to read the text and highlight 2-3 items that catch their attention.
  • In a small group (4-5), count out student sharing order. First student shares a highlighted item with NO elaboration or crosstalk.
  • Moving through student order, each student comments on the initial shared item.
  • Finally, the student who originally shared the statement gets the “last turn” to give their impressions.
  • Then the second student shares a highlighted item, and each student gives their impressions about THAT statement, etc. (Round-robin)
  • Edtech tools and Resources that can be used in the classroom, in a hybrid model, in a blended environment or completely virtual:
    • in class students are in a small group sharing their thoughts
    • in class students could be online with that particular document and highlighting collaboratively. Sharing thoughts can be aloud and also by adding text/voice comments directly on the document. (In a GDoc – highlighting and comment features are built-in. If your school or district subscribes to Read&Write for Google Chrome, students can use the features in there whether the text is from a GDoc, website OR .PDF)
    • GMeet – students have access to the text in an online environment – via link, GDrive or GClassroom. The teacher has them reading the text individually, highlighting as they go and then can put the students in groups of 4 in the breakout rooms to do the sharing. The teacher can join each breakout room to see how the discussion is going and then bring the whole class back after 15 minutes to have some sharing.
 

Tags:

Fostering Effective Discussions: Card Stack and Shuffle

Fostering an effective discussion can be a challenging activity for a teacher in a face-to-face situation and can be even more challenging in an online setting. In this thirteenth post of a seventeen part series we will look at some planning and facilitation strategies to help you to successfully implement collaborative discussions into your own classes or staff workshops.

Strategy for Dialogue and Discussion

Provides a structured process for surfacing the assumptions and beliefs that underlie and often constrain students thinking. 

It offers a low-risk method for surfacing and exploring assumptions.

Card Stack and Shuffle

  • Each student has 5+ index cards.
  • Students complete the stem (shown to them by teacher) with 1 response per card. 5 mins.
  • Get into a group (3-4) and shuffle cards/lay out cards on table.
  • Each student reads someone else’s card + records assumptions on it.
  • Once all cards have been read and written on, select 2-3 cards that have the greatest implications. Record on a TChart. Are there any questions or actions needed to further explore this topic?
  • Edtech tools and Resources that can be used in the classroom, in a hybrid model, in a blended environment or completely virtual:
    • GDoc – “e-cards” can be created by having students use Google Drawings to add to the document.
    • Jamboard – the first frame allows for students to add sticky notes easily and quickly. The teacher can then duplicate this frame and have student add text boxes to record assumptions beside the notes. Then 2-3 notes are chosen. Create a 3rd frame for the TChart and add questions and actions there.
    • GSlides – easy to add text boxes and move ideas around on a slide. Similar to Jamboard.
    • Index cards – a little more difficult to do during Covid. Post-it notes could be used and stuck on poster paper.
    • Padlet – online post it notes that can be moved around or commented on.
 

Tags:

Fostering Effective Discussions: Artifact Hunt

Fostering an effective discussion can be a challenging activity for a teacher in a face-to-face situation and can be even more challenging in an online setting. In this twelfth post of a seventeen part series we will look at some planning and facilitation strategies to help you to successfully implement collaborative discussions into your own classes or staff workshops.

Strategy for Dialogue and Discussion

This is an anthropological quest to better understand the culture that surrounds an issue, a group or a plan. This tool offers a reality check for plans, projects and teamwork. 

It focuses attention on the existing student culture and provides a low-risk, high engagement way to assess the values and beliefs it reflects.

Artifact Hunt

  • Students collect artifacts (for a topic/concept) before coming to class.
  • In task groups (3-4), have students share and categorize their collection (15-20mins).
  • For each category, the group records the values and beliefs represented by the artifacts (15mins).
  • Share 1 artifact that exemplifies meaningful values to the whole class.
  • Edtech tools and Resources that can be used in the classroom, in a hybrid model, in a blended environment or completely virtual:
    • Audio – one can head over to Creative Commons Search to get audio files as artifacts or they can make or capture their own with Online Voice Recorder (these files can be uploaded easily onto a Google Slide) or saved in GDrive.
    • Google Arts & Culture – offers interactive experiences and thousands of artifacts for students to utilize.
    • GDoc w/Explore – this tool found in the bottom right corner of a Google Document has the power to search for images and information that can be dragged right into the Google Doc.
    • Jamboard – searching for image artifacts is easy. Click on the image icon, search away and add them to your frame. Students could be assigned their own frame (up to 20 frames per Jamboard).
    • LearnAlberta offers a variety of image collections for Alberta students. It is password-protected and each school division has the appropriate username and password. Other provinces, territories, states and countries may have an educational environment that houses artifact collections in an online manner.
    • Magazine/Paper clippings
    • Photos – if you are searching via Google Image Search make sure to choose Tools > Usage Rights > Creative Commons licenses.
    • RW4GC Vocab List – we have used Read & Write software for decades in our school division and now we utilize Read & Write for Google Chrome. The Vocabulary List is a powerful note-taking document that any teacher can set up and have students input their learning as the unit progresses. I like taking the keywords from textbooks, documents and highlighting them to go into the Vocab List. Any words not included in the list I just add them myself. Students can help clean up the definitions column and add new images with the Explore button easily. The notes column is where students update their understandings – what do they notice or wonder when they are learning about this keyword?
    • Smithsonian Learning Lab – has many resources for students and teachers to utilize. They also offer many webinars.
    • The Learning Network of the NY Times – has a Multimedia section that is not to be missed out on.
    • Video clips – found online with YouTube, SchoolTube or any subscription-based service like Discovery Education, Learn360, BrainPop, etc.


Tags:

Fostering Effective Discussion: Think & Write/Pair & Share

Fostering an effective discussion can be a challenging activity for a teacher in a face-to-face situation and can be even more challenging in an online setting. In this eleventh post of a seventeen part series we will look at some planning and facilitation strategies to help you to successfully implement collaborative discussions into your own classes or staff workshops.

Strategy for Activating

This structures individual think time with a partnered exchange. It is extremely versatile and can be applied to a wide variety of topics in a wide variety of contexts. 

This balances participation and provides a low-risk, time efficient method for shared exploration.

Think & Write/Pair & Share

  • individual think time with a partnered exchange
  • shared exploration of a topic
  • class is given a prompt, stem or question to think and write about for 2 minutes individually. They then form partners and share responses.
  • Edtech tools and Resources that can be used in the classroom, in a hybrid model, in a blended environment or completely virtual:
    • Flipgrid – once the reading, writing and pairing have taken place. Students can share their ideas via video response. Other students in class can respond with video or text messages.
    • FutureLearn example
    • GDoc-
    • Jamboard – can be set up just like the Google Doc example above, each pair could have their own Jamboard frame. Individually they can write/type down their notes, then meet over the Jamboard to add partner thoughts and their final sharing thoughts.
    • GSlides – similar set up as GDoc and Jamboard.
    • Reading Rockets have an explanation guide, video tutorial and subject specific examples.
    • ReadWriteThink has a great strategy guide for this protocol (K-8)
    • Sheet of Paper
    • Think and Write books 1-3 from Criticalthinking.com
    • Video watching – a Think-Write-Pair-Share template from NASA
 

Tags:

Fostering Effective Discussions: Go to Your Corners

Fostering an effective discussion can be a challenging activity for a teacher in a face-to-face situation and can be even more challenging in an online setting. In this tenth post of a seventeen part series we will look at some planning and facilitation strategies to help you to successfully implement collaborative discussions into your own classes or staff workshops.

Strategy for Activating

This simple strategy has students thinking about a specific statement/question on a topic/outcome and then moving to a corner that most appeals to them (Strongly AGREE, AGREE, Strongly DISAGREE, DISAGREE). It requires everyone to take a position and then have a few volunteers debate their choice from each corner. Encourage students to switch corners if someone presents an idea that causes a change of mind. Each corner of participants can question and discuss each other’s evidence and ideas.

Go to Your Corners

  • students assess their interest in major themes, outcomes or key issues
  • purposeful physical movement also provides energy and focus
  • can be used as a warm-up activity or a follow-up.
  • great as a pre-writing activity to elicit arguments and evidence prior to essay writing
  • Statement examples in Social Studies:
    • The needs of the larger society are more important than the needs of the individual.
    • The purpose of schooling is to prepare youth to be good citizens.
    • One should always resist unfair laws, regardless of the consequences. I am only responsible for myself.
  • From the NY Times The Learning Network – 100 Most Popular Student Questions for Debate and Persuasive Writing.
  • For elementary students, Ideas for Debate Topics.
  • Statement examples in Health, Wellness and Phys.Ed:
    • Beauty is only skin deep.
    • Wearing a helmet when riding a bike should be mandatory.
    • Because many kids need more sleep, school should start two hours later than it does now.
    • Chewing gum should be banned from schools.
  • Edtech tools and Resources that can be used in the classroom, in a hybrid model, in a blended environment or completely virtual:
    • Classroom/Gym/Outdoors
    • Google Docsgreat templates for both elementary and secondary from Teacher Toolkit.
      • Jamboard – this online whiteboard can be used in both a virtual and physical classroom. Students can input their names on the sticky note in the appropriate corner of the frame. Fun and quick to set up.
      • Flipgrid – students could either video record their response or use the textbox and leave a text-based response. This could be done at the beginning of the week (kind of a first impression of the statement). Then students would dig further into the content and at the end of the week they would either remain in the same corner or revise their response adding evidence to their actions either way.
      • Pear Deck GSlides – various draggable slides can be set up within your Google Slide deck for students to interact with. Teachers can look on their dashboard as students are completing their thoughts as to which corner they are picking initially. Offer time for debate, discussion and then the opportunity for students to change their corner choice (what is great here is that students cannot see what everyone has chosen so there is no “popular” choice).
      • Plickers cards are fabulous as teachers can assign one card to a student. The statement would then be posted and students would vote with their Plickers card – A=Strongly Agree, B
        =Agree, C=Strongly Disagree, D=Disagree. Results would be shown and discussion could ensue.


    Poster Paper – using their own post-it notes or sticky dots, voting could be done individually on a poster paper at the front/side of the class.


Tags:

Fostering Effective Discussions: First Word/Last Word

Fostering an effective discussion can be a challenging activity for a teacher in a face-to-face situation and can be even more challenging in an online setting. In this ninth post of a seventeen part series we will look at some planning and facilitation strategies to help you to successfully implement collaborative discussions into your own classes or staff workshops.

Strategy for Activating

This simple strategy allows for some word play and discussion in a different manner that has small groups actively connecting and listening. It organizes important concepts, principles and understandings about a topic. Posting the charts supports group memory. This approach enriches the group’s knowledge base, establishing a collective reference system.

First Word/Last Word

  • acrostic adaptation
  • task groups generate full thoughts for each letter in the designated word.
  • elaborate important dimensions of the topic/concept.
  • the topic word is written/typed vertically down the left hand side of chart paper, online word processing space.
  • each group (3-4) needs a recorder that takes down the group ideas in the acrostic in full thoughts beside each letter (FIRST WORD).
  • if this is the first time students use this protocol, the teacher should model a sample phrase for 1-2 letters to set a standard for both quality and quantity of response.
  • encourage groups to generate important attributes, characteristics or ideas related to the topic prior to organizing these associations into phrases. This also can be done as a brainstorming session before smaller groups get together.
  • set the time limit to 10-12 minutes with group sharing of 1-2 ideas back to the main class.
  • if time is limited, assign specific sections/letters to each group.
  • FIRST WORD allows teachers to determine what students already know. LAST WORD shows the progression of knowledge.
  • at the end of the unit or topic, students will work on a LAST WORD which provides a metacognitive opportunity for students to examine where they were in their thinking at the beginning and how their present understandings have extended or modified their initial understandings.
  • Edtech tools and Resources that can be used in the classroom, in a hybrid model, in a blended environment or completely virtual:
    • Google Docs – a shared document can be set up with a table or straight page for students to add their thoughts at the beginning and end of the unit. Each group could have one page assigned to them. This can also be done in Google Slides in a similar fashion.
    • JamboardPhotosynthesis example show students understandings before the Science unit started (FIRST WORD) and then at the end (LAST WORD).

    • Flipgrid – students can brainstorm and then show and record a video of their FIRST WORD. They can add a response with their LAST WORD acrostic at the end of the unit.
    • Poster Paper – the example shows how the First Word work on DIALOGUE:

    • Whiteboard – write on a whiteboard and then taking a photo of the initial FIRST WORD information that can then be posted into students Google Classrooms to review throughout the unit.
    • Whiteboard.fi – one recorder per group can input the information. Teacher sees the groups thoughts.
 

Tags:

Fostering Effective Discussions: Activating with Bumper Stickers

Fostering an effective discussion can be a challenging activity for a teacher in a face-to-face situation and can be even more challenging in an online setting. In this eighth post of a seventeen part series we will look at some planning and facilitation strategies to help you to successfully implement collaborative discussions into your own classes or staff workshops.

Strategy for Activating

This high-energy strategy uses symbolic thinking and its creative aspect often adds humour and allows for high inclusion.

Bumper Stickers

  • High energy with brainstorming in text, visuals and symbols
  • Creativity lends well to this
  • Engages students who are more visual or artistically-oriented
  • Each small group (2-4 students) will create a bumper sticker based on a particular topic. Students can each be in charge of one part of the bumper sticker (in their own space) OR the teacher can have the group brainstorm together but each create their own bumper sticker (due to Covid protocols) OR this can be done digitally (see below).
  • The final product reflects some key aspect or big idea.
  • Brief time limit – only 8-10 minutes.
  • Edtech tools and Resources that can be used in the classroom, in a hybrid model, in a blended environment or completely virtual:
    • Canva for Education offers teachers a premium creativity tool for free. And then teachers can create a classroom to invite their students so they can be creative as well. Canva has many templates to choose from so students can decide if their bumper sticker will be rectangular, square, oval or circular. Below is a Canva exampling showcasing Alice in Wonderland and the theme of frustration and puzzlement.


    • Flipgrid is a video response site that allows teachers to create groups and post topics within those groups for students to respond to. Not only can students share their bumper sticker visually with the record button, the could create it within the response with the stickers, text and whiteboard features. It is also great to have students respond to each other’s bumper stickers. Give them a “Gallery Walk” protocol to follow when responding to classmates’ work.
    • Google Docs are mostly text-based, however students can add in imagery via Explore > Images tool and they could add an audio explanation of their bumper sticker using Read&Write Voice Note or Mote Chrome extension.
    • With Google Drawing students can choose the size of their bumper sticker while also bringing in some creative commons images and this inserts into a Google document nicely. Stephanie does a great job in showing how to create stickers in Google Drawing, although this is for teacher use, the instructions are the same
    • Jamboard give students the opportunity to add text boxes, sticky notes, creative commons images, and hand-drawn opportunities. Each student could be given a different frame to work on as Jamboard allows up to 20 frames per jam. Or you can create one template and share one copy for each student in Google Classroom.
    • Students can customize the size of a Google Slide and then add their text, imagery and even audio if they like. Just like Jamboard, the teacher could assign each student one slide to work on or make one copy for each of them. If a Gallery Walk is put in place, students can use the comment features to share their thoughts. Check out D.J.’s example.
    • PearDeck for Google Slides has a drawable slide that each student can create on and the teacher can view all the drawings on the teacher dashboard. They can also showcase, with student permission, their own drawing to everyone in the class or GMeet.
    • Poster Paper is still great to use, already cut into different sized strips for students to utilize.
    • Whether it is a Whiteboard hanging on a wall or a digital one like Whiteboard.fi, students can plan out their creativity and summarizing skills using spaces on a whiteboard in the classroom or small hand-held sized ones at their desks or even the online version!

Enjoy the creative summaries, visuals and laughter when these are being created in your classrooms both in school and online.


Tags:

Fostering Effective Discussions: Summarizing with a Tweet

Fostering an effective discussion can be a challenging activity for a teacher in a face-to-face situation and can be even more challenging in an online setting. In this the seventh post of a seventeen part series we will look at some planning and facilitation strategies to help you to successfully implement collaborative discussions into your own classes or staff workshops.

Strategy for Summarizing

Summarizing produces a concise review of main points and sorting of critical information from all the resources, details and artifacts. This particular summary – the Tweet – is a way of closing a class by having a pair of students or an individual craft and then share with a larger group their personal summaries and or learning experience. It focuses energy and attention by providing a clear structure for integrating ideas and information from class. The character limit forces a succinct summary.

Tweet

  • Review of main points of learning
  • Promotes discussion and then summarization
  • Summary must be short and to the point and can include a video clip, image or gif.
  • Edtech tools and Resources that can be used in the classroom, in a hybrid model, in a blended environment or completely virtual:
    • GSheet – Each student would have a row to enter their name and their Tweet summary. Whole class can then view everyone’s summary. Ability to add other visuals in another column. As well, if students are too young for a Twitter account, the teacher, with student permission, could share this information on a Class Twitter account if one already exists.
    • Jamboard – The collaborative whiteboard could host students “tweet” summaries via Sticky Note that each student has entered their summary on. Added images can offer visual variety. Teacher could take a screenshot of this to actually share via a Class Twitter account. Grade 6 Science example.
    • Padlet – similar to Jamboard where students would input their summary and add any multimedia if they desire. Whole class would have access to the Padlet via a link shared by teacher.
    • Post-it note – going old school with a paper post-it note that can be attached to a poster paper for the whole class to read classmates summaries.
    • Twitter with specific hashtag – if students are old enough, they could share their own summaries directly on Twitter with the teacher giving them a specific hashtag to include so they are searchable. (Note: Teachers, when creating a hashtag for Twitter, please test it ahead of time by searching for it on Twitter.) Or students can hand-in/share their summaries directly with the teacher and then the teacher shares a top 5 (or all of them) directly on Twitter. Also if you want your Twitter PLN to comment on these summaries, add #Comments4Kids.
    • FakeTweet – a great way to practice creating a tweet without having a Twitter account. Authentic looking and can be placed on a Google Doc or Jamboard or other collaborative whiteboard for all students to read.
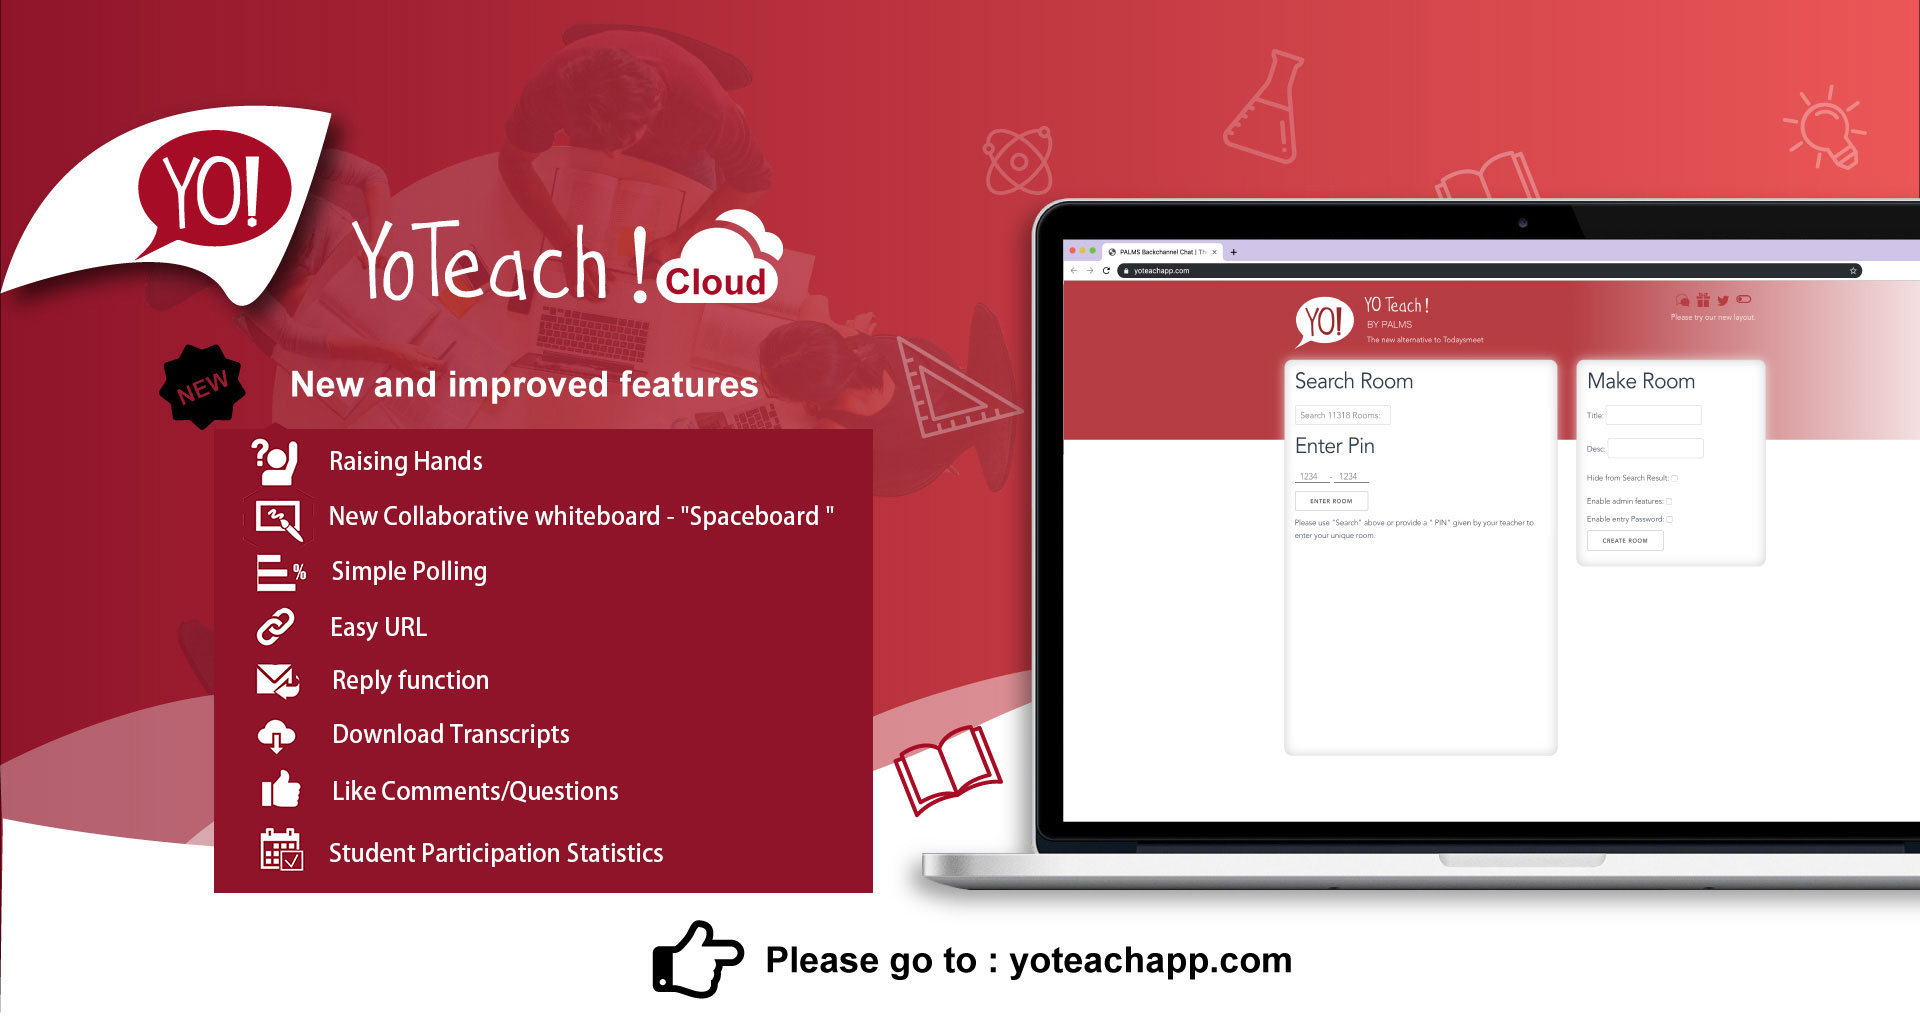
    • YoTeach backchannel – a private backchannel that can be used for a specific amount of time for students to input their Tweet-like summaries. Transcripts can be downloaded to capture the student summaries and save them to GDrive, accessible for students. YoTeach! – PALMS
 

Tags: